As most of you know, our house is always in a constant state of renovation; and because we’re doing it all ourselves (well mostly), it’s taking a really long time. Think 4 years and we still have no working vanity in our bathroom, and the lounge looks like the inside of a cardboard box …
UNTIL the folks over at Selleys (and Dulux) said they’d love to help us along, so we got our A into G and really amped up the Renos.
BEFORE:
To give you an idea of where we were at before we started this 3 week project (yep we did this in three weeks) … THIS was a before of our lounge:

So as you can see, a lot needed to be done. We needed to:
- Remove the existing GIB board
- Insulate
- Potentially put a new window in
- New power points
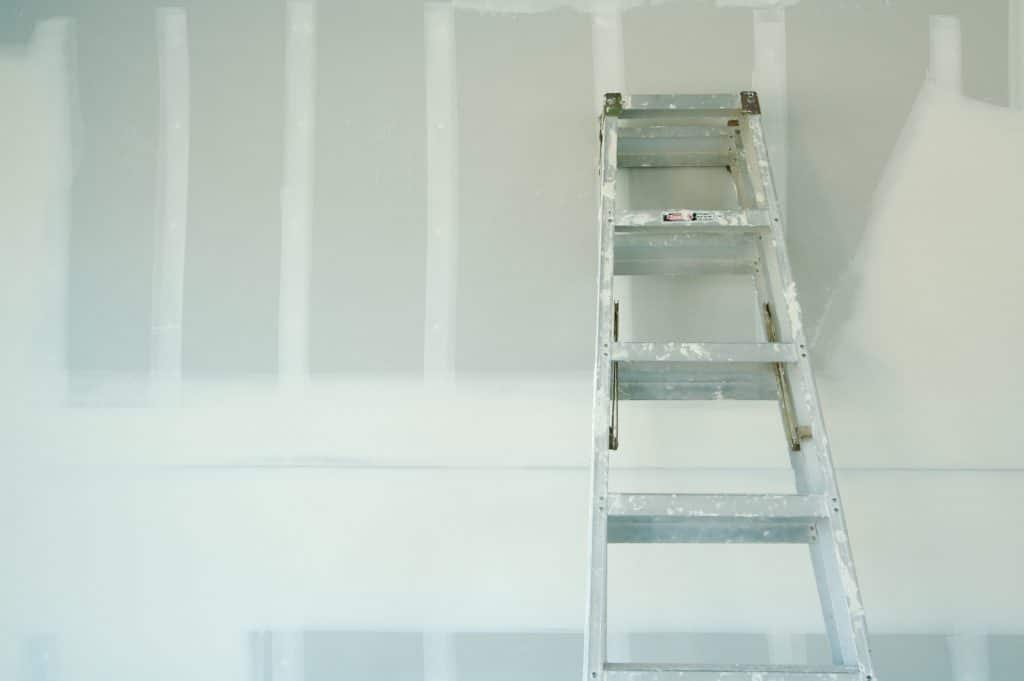
- Put up new GIB board
- Sand down the window sills
- Fill in the gaps
- GIB stop the GIB board
- New base trim, and trim around the windows
- PAINT EVERYTHING
We enlisted the help of our family and got to work:
THE PREP WORK:
NOW the prep work begins, and where we really needed Selleys.
Selleys: Started in the 1930’s, Selleys has been helping folks with their DIY projects since legit ages ago. Their product ranges includes No MoreGaps, Liquid Nails, Spakfilla Rapid, Sugar Soap, AND SO MUCH MORE.
For this project, our focus was on the Selleys No MoreGaps, Selleys Spakfilla Rapid, and of course Selleys Sugar Soap.
Once the GIB was up, we needed to get the windows prepped – so we sanded them down.
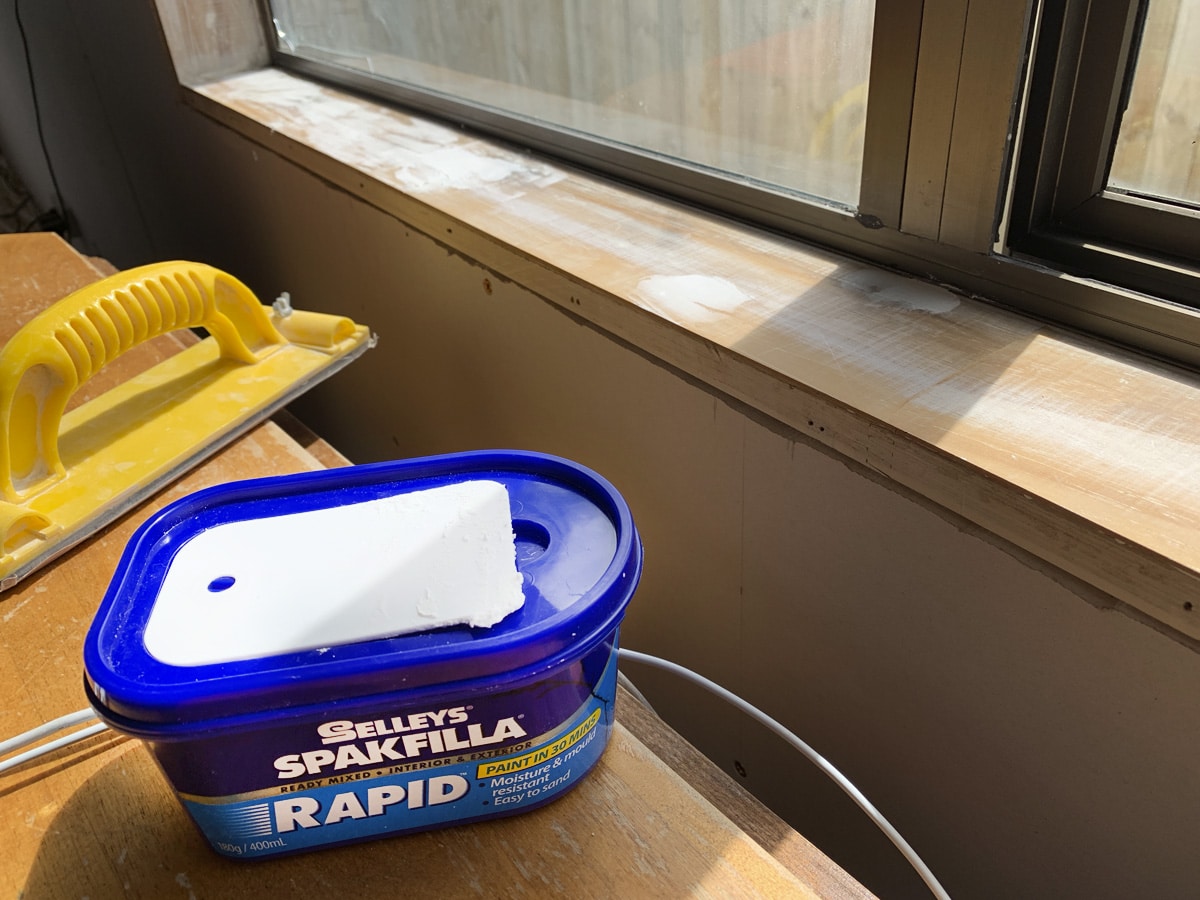
When you sand back old windows, you’ll find a lot of chips in the wood, or even scrapes that need filling. This is where Selleys Spakfilla Rapid, comes in. It’s super easy to use, and as I said on my Instastories, the texture is almost like icing and very fun to apply.

Here’s a wee snippet of my Instastories (@happymumhappychild):
After waiting for 20 minutes, you’re ready to sand it back, and after 30 minutes, it’s ready to paint.
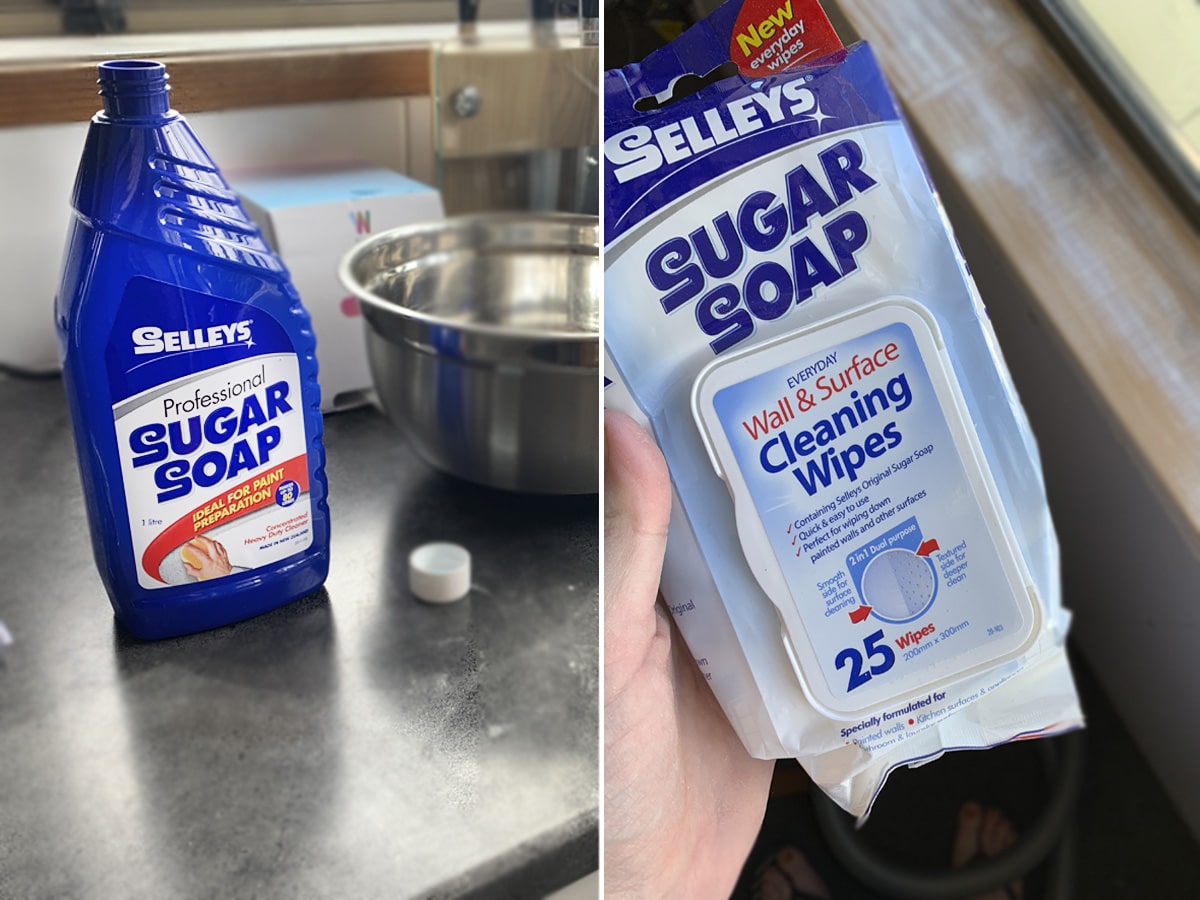
In our case though, after we used the Selleys Spakfilla Rapid, we washed and wiped down the window sills using Selleys Sugar Soap.

We did this to get rid of all of the excess dust. As much as you think you get it off with a vacuum and a brush, you don’t. Wiping it down with Selleys Sugar Soap is your best bet.
In fact, that damn sand got EVERYWHERE, so before we paint the windows, we’ll be using Selleys Sugar Soap again.
So once everything was sanded, and the gaps filled, it was time to tape the edges to get ready to paint.
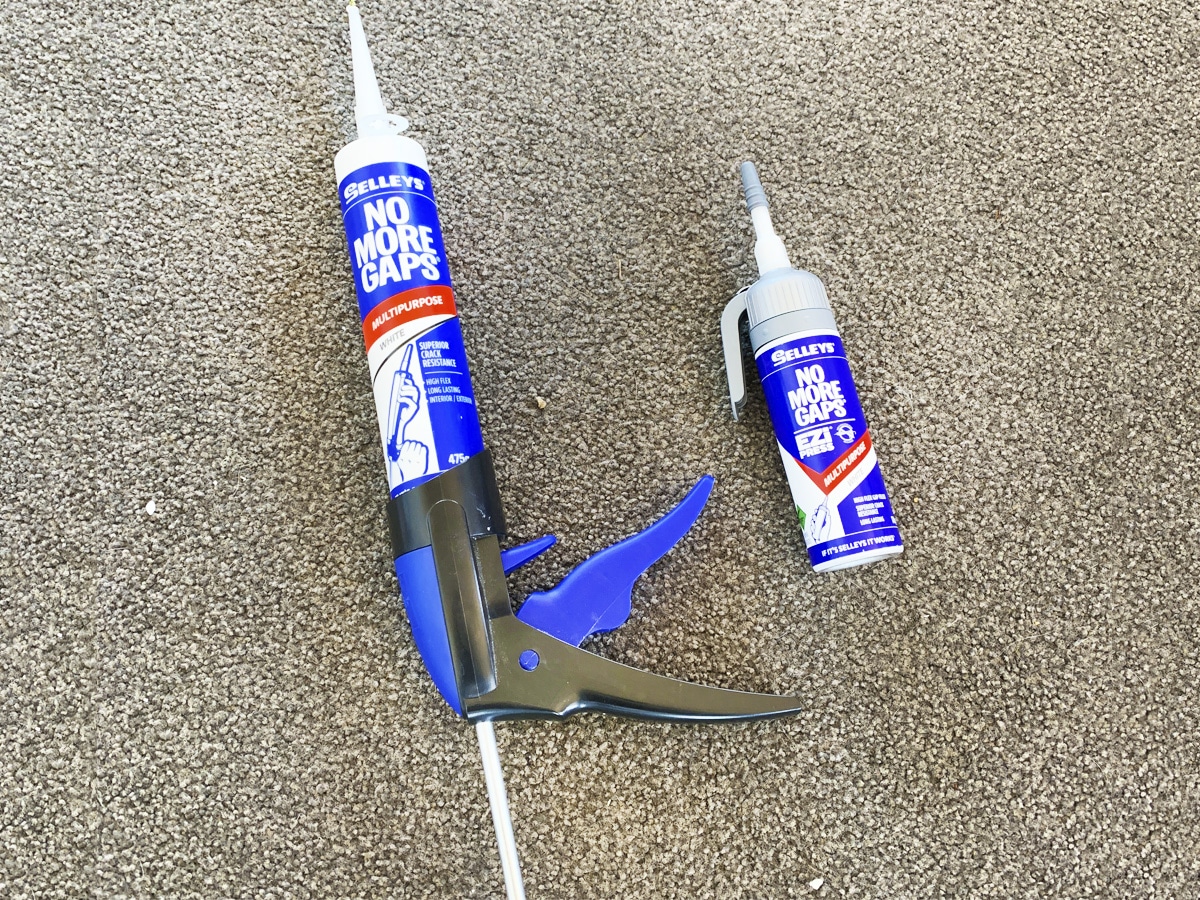
BEFORE painting though, you have to seal the edges of the window frames. For this you’ll need (and we used) Selleys No MoreGaps. You can use the traditional pack, which requires a caulking gun, or you can use the Ezi Press.
Both contain the same product HOWEVER, the Ezi Press is SO much easier to use (well for me anyway) and I preferred it to the traditional one.

Here it is in action:
Now that we’re all prepped, we can get onto the painting. Having the Selleys products at our disposal has truly been a godsend and they’ve been instrumental in helping us complete our job with ease.
While Phil was renovating the bathroom we used their products so were chuffed when they approached us wanting to work with us.
I can highly recommend the Selleys products, and if you’d like to crack into your own DIY, you can get the range from hardware stores such as Bunnings, Mitre 10, your local hardware store and even paint stores like Dulux Trade Centres, Guthrie Bowron and Colour Plus.
Thanks again to Selleys for sponsoring this post and working with us on this big project.
Be sure to stay tuned for the next blog where we finish GIB stopping and finally get the lounge painted!!
WANT TO WIN A PAINT PREP PRIZE PACK ???
Enter here on Facebook:


