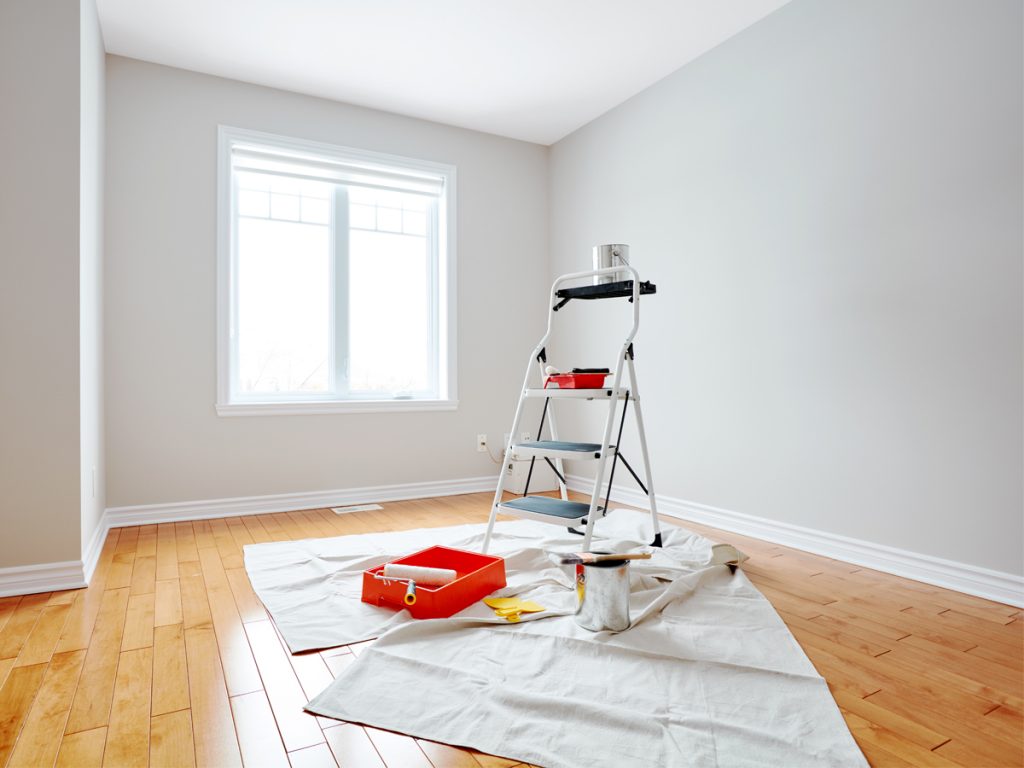
After removing all of the GIB, insulating, creating a new window, putting the new GIB up, sanding down the windows and basically getting the whole lounge prepped … it was time for us to paint it.
CHOOSING THE PAINT
One of the things Phil and I struggled with was the colour choice. We might be able to do the hard work, but when it comes to creativity, and choosing colours, we really didn’t know what to do.
Thankfully, the team at Dulux were super excited to help us out – and boy did we need it.
ANYBODY can access the Dulux knowledge base – through their website you can actually book to have a Colour Design Expert come to your house and help you with everything you need.
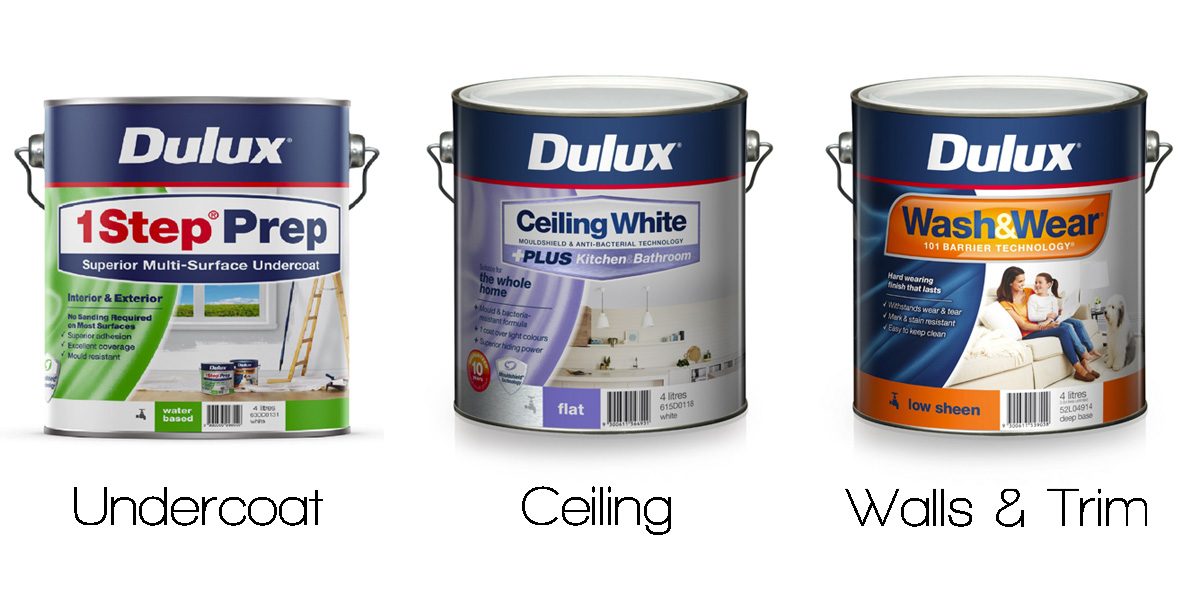
So the Dulux team came over and checked out our living space, BEFORE we even thought about removing any GIB to begin the project. They left us with colour charts, and a recommendation – which we ended up agreeing with.
The walls would be painted OPONONI HALF, the trim would be painted SOUTHERN ALPS, and the ceiling would be CEILING WHITE.
THE PAINT BRUSHES / ROLLERS
When the Dulux team came and visited us, they also recommended the RotaCota range called Perfect. These paint brushes and rollers are colour coded and tell you exactly what to use them for – making them literally the perfect paint brush to use.
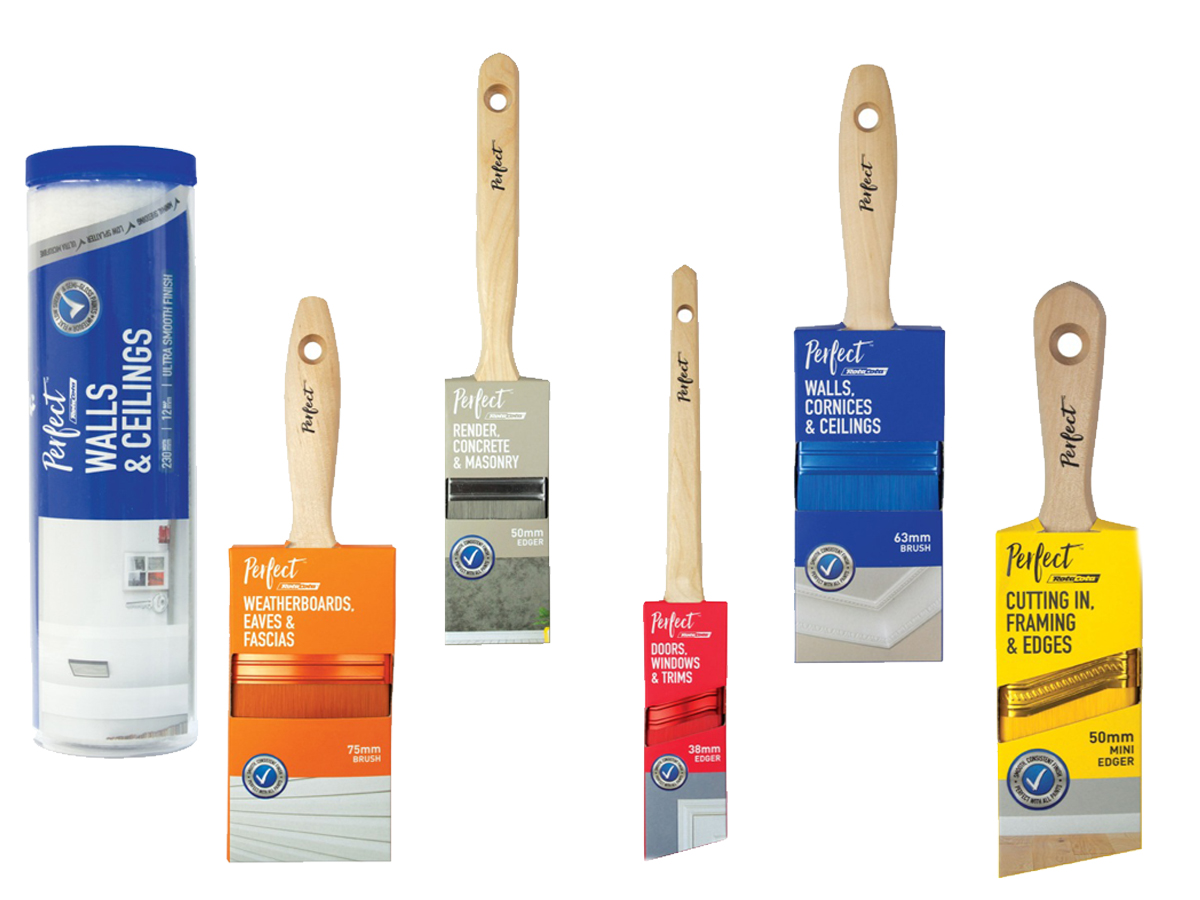
Once you’ve finished using the brush, simply wash it out, let it dry and then pop back in it’s case. That way you’ll always know what the brush is for, AND it’ll help to keep it’s shape.
You can get the RotaCota Perfect range at Guthrie Bowron and ColourPlus stores.
PAINTING
As you all probably know – before you can paint, you have to prep the walls / window sills / ceilings. Make sure you’ve checked out my Paint Prep blog for information on that!
The first thing you do when painting, is paint an undercoat. We did two undercoats, followed by three top coats. we really wanted to make sure everything looked perfect.
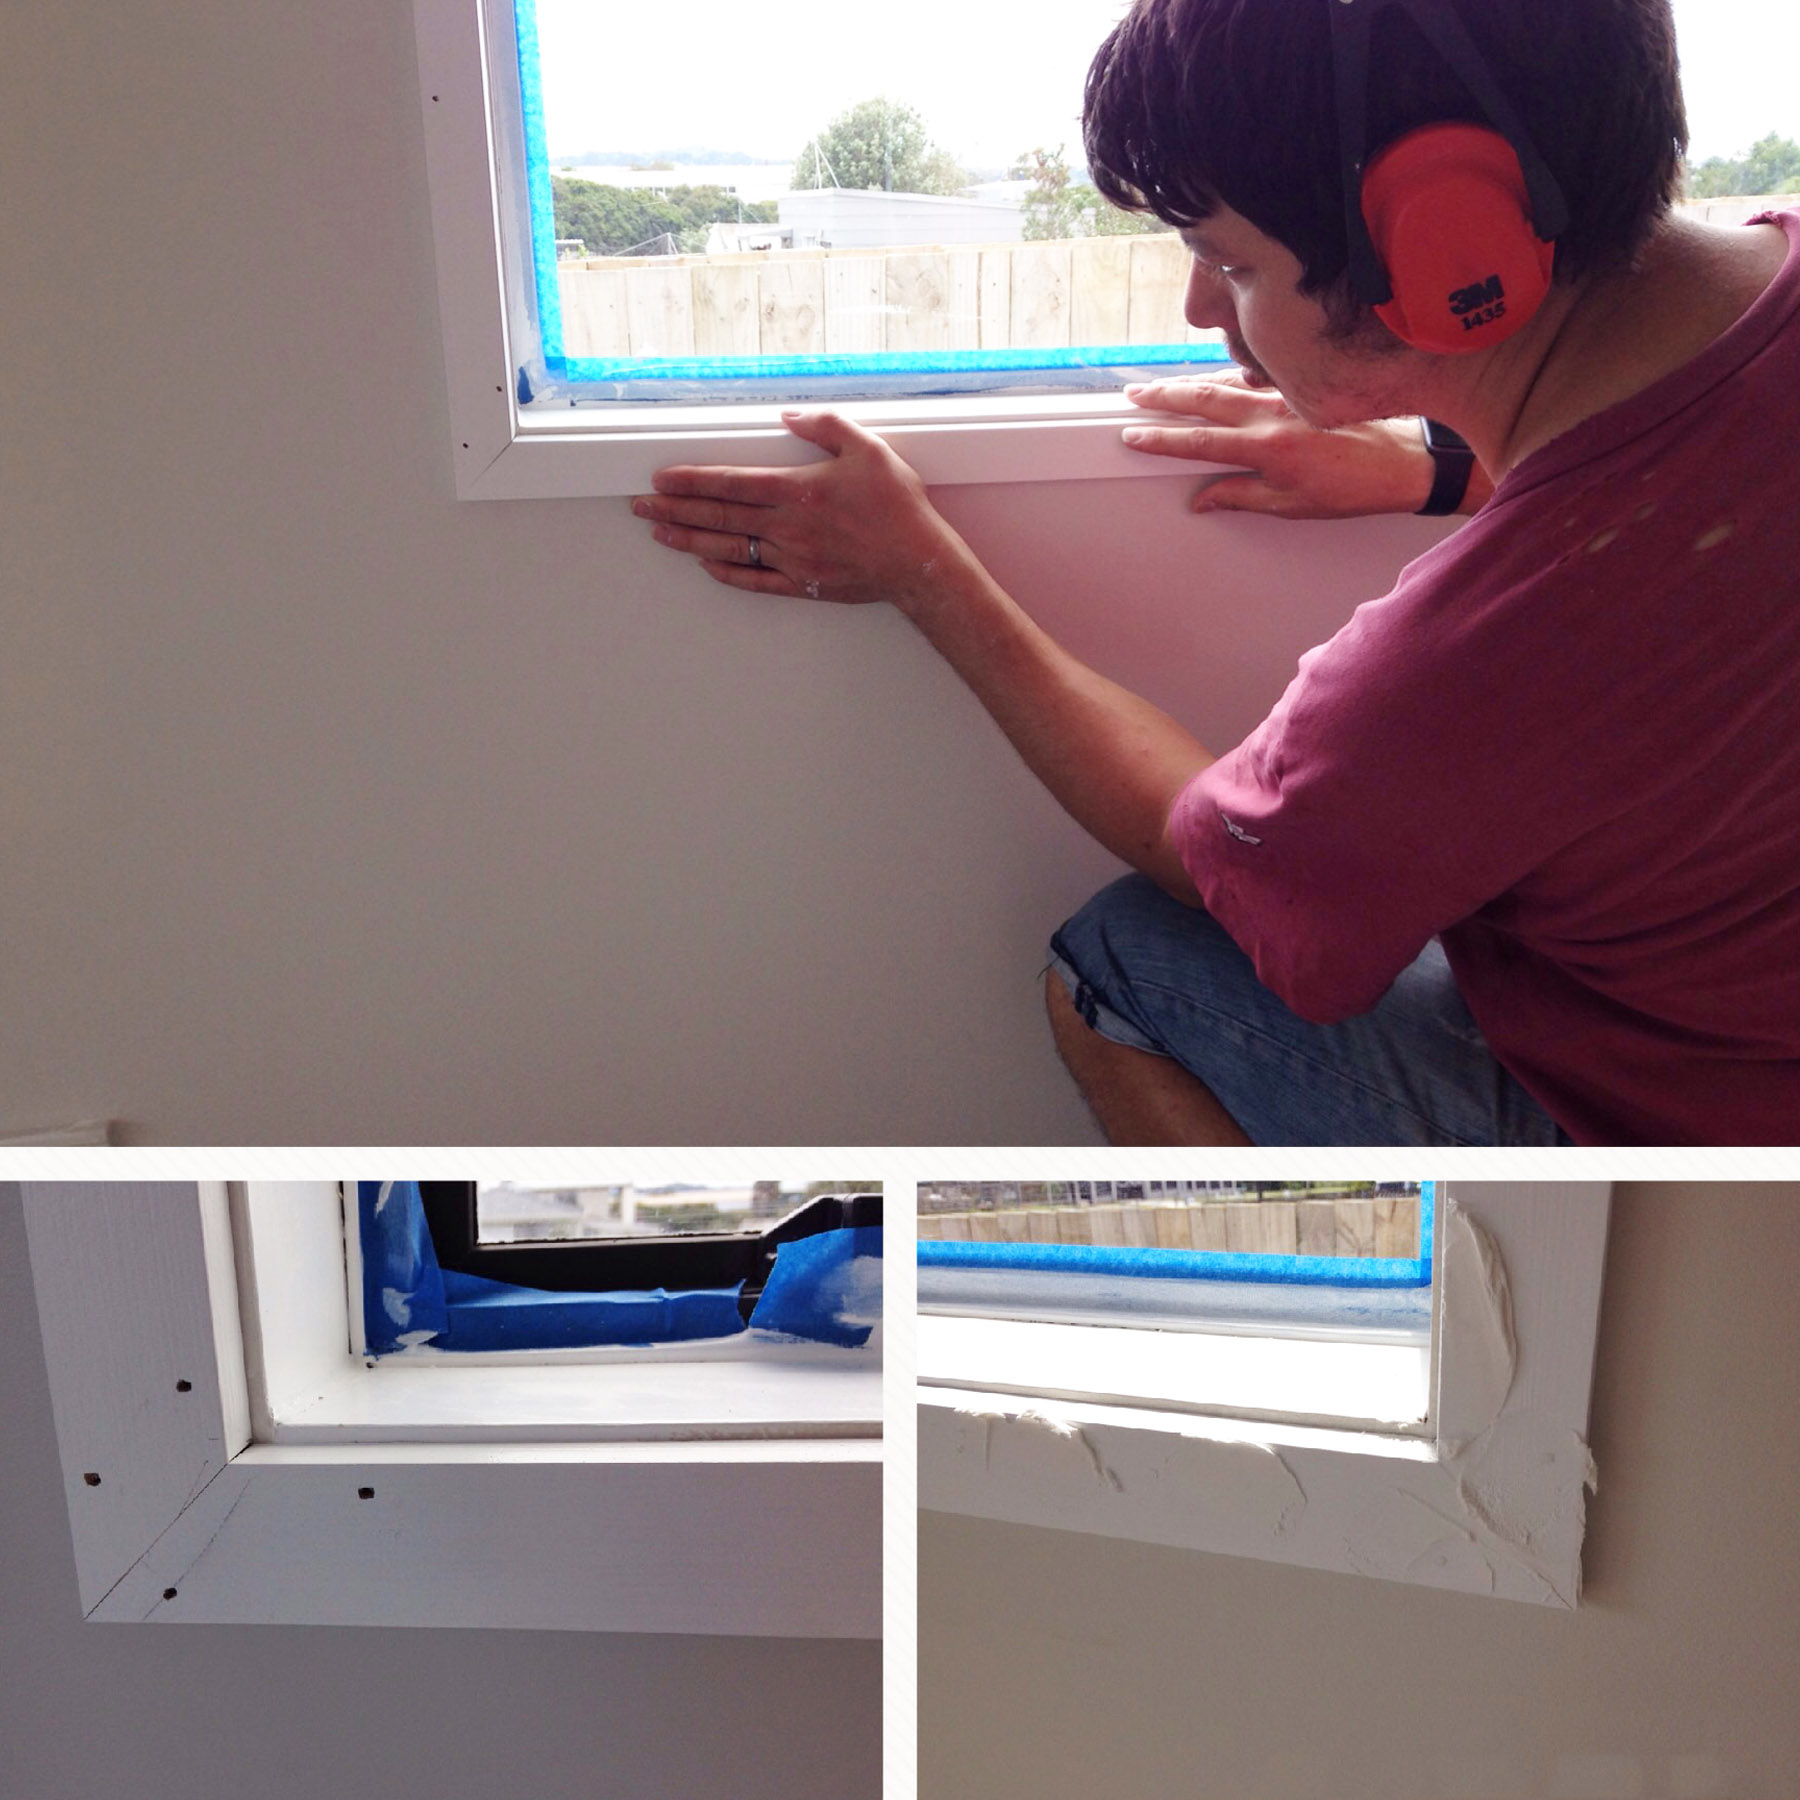
Here’s my husband (and me sometimes) in action:
Here’s the brushes in action:
FINISHING UP
Once the walls and ceiling are fully done, it was time for us to put the trim on around the windows, and the base of the walls; and finish them off. This meant filling in any gaps with Selleys Spakfilla Rapid, and Selleys No More Gaps. Check out the Paint Prep blog for more info on those!
Once the windows were prepped and filled, it was time to pop on the top coat (we had already painted the undercoat).
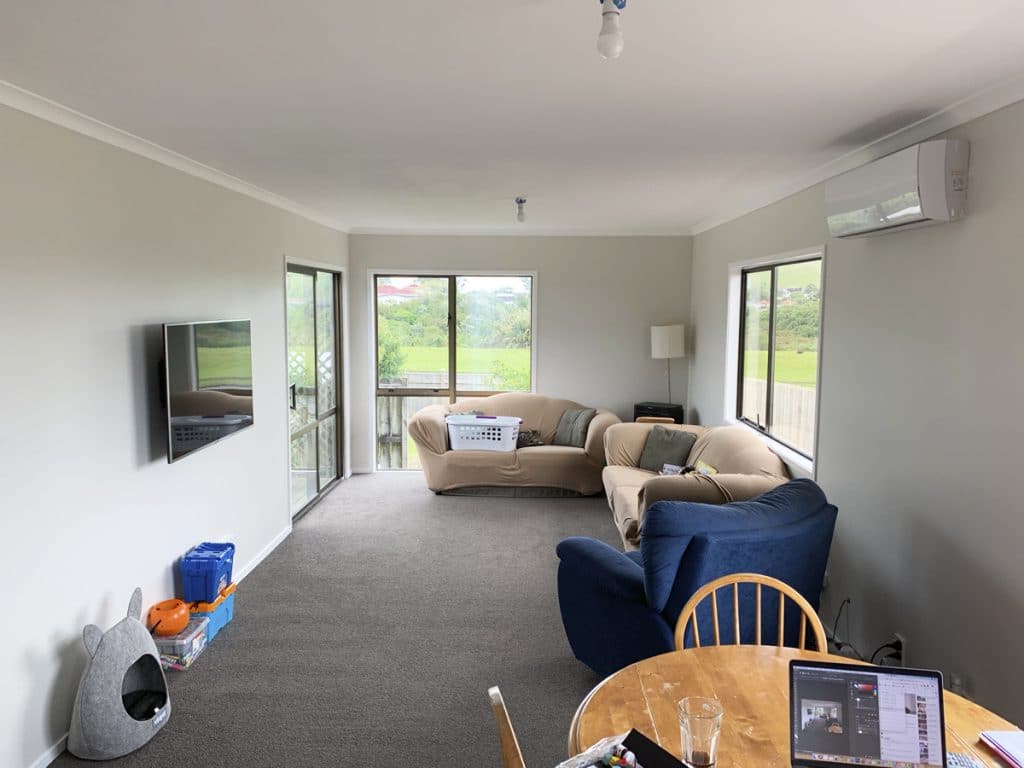
OUTCOME
So this whole project took approximately THREE weeks. Which isn’t long at all – and we are forever grateful to Selleys and Dulux for teaming up with us on this.
In our house, because we’re doing it by ourselves, everything takes a long time. HOWEVER, there is nothing like a bit of pressure to get our A into G and actually do something.
The Selleys products, as well as Dulux and RotaCota, make it incredibly easy and accessible for even myself (who is not really into DIY, that’s my husband LOL) to do.
If I can do it – so can you!
So get to it!!
Thank you again to Selleys, RotaCota (and Dulux) for sponsoring this post and this series and helping us complete our lounge. We will forever be grateful!