Phil bakes bread rolls every single week and they’re amazing. This particular recipe makes 40 bread rolls (which is a lot), so please halve it if you want a smaller batch.
For our bread, we add Bread Improver to the dough. The one we use is the Lotus brand of improver, which we got from New World. If you give it a google you will find a few places that sell them – certain supermarkets for sure.
We also make our bread rolls using the Thermomix TM5/TM6. I have written this recipe’s instructions for a stand mixer and not for the Thermomix.
Check out my Thermomix Recipe here.
Ingredients:
- 6g yeast
- 60g water
- 230g milk
- 525g high-grade flour
- 55g sugar
- 1 egg
- 1 teaspoon salt
- 1 tablespoon bread improver
- 25g olive oil
Directions:
- Get a pot and add your milk – heat over a medium heat until just boiling. You want the milk to have just frothed slightly.
- Remove from heat and immediately place pot into an ice bath to cool the milk to room temperature.
- In your mixing bowl, add the water, cooled milk, and yeast. Stir to combine.
- Let it sit for 10 minutes so that the yeast can activate.
- Next add your flour, sugar, egg, salt and improver.
- Mix together and knead for 10 minutes. After 1 minute of kneading, add in the 25g of olive oil, continue kneading for 9 minutes.
- Tip the dough out onto a floured surface and work into a ball.
- Lightly spray a large bowl with olive oil (to stop the dough from sticking), and then place the dough ball inside the bowl. Cover bowl with a tea towel or plastic wrap and leave to rise until it doubles (roughly an hour)
- After an hour (or when the dough has doubled in size), punch down the dough.
- Weigh the dough, and using a calculator divide the total weight by 40. Usually this is around 40 grams.
- Split the dough into equal parts and work into small balls.
- Place each ball on a tray, with roughly 5cms between each one.
- Once completed with all the dough, cover again with either a tea towel or plastic wrap, and leave until the balls double in size (again its usually around an hour).
- Preheat the oven to 180 degrees celsius.
- Once preheated (and the dough balls have doubled in size), place them in the oven. After placing in the oven, spray lightly with water (3 sprays is fine – a light mist is all you want).
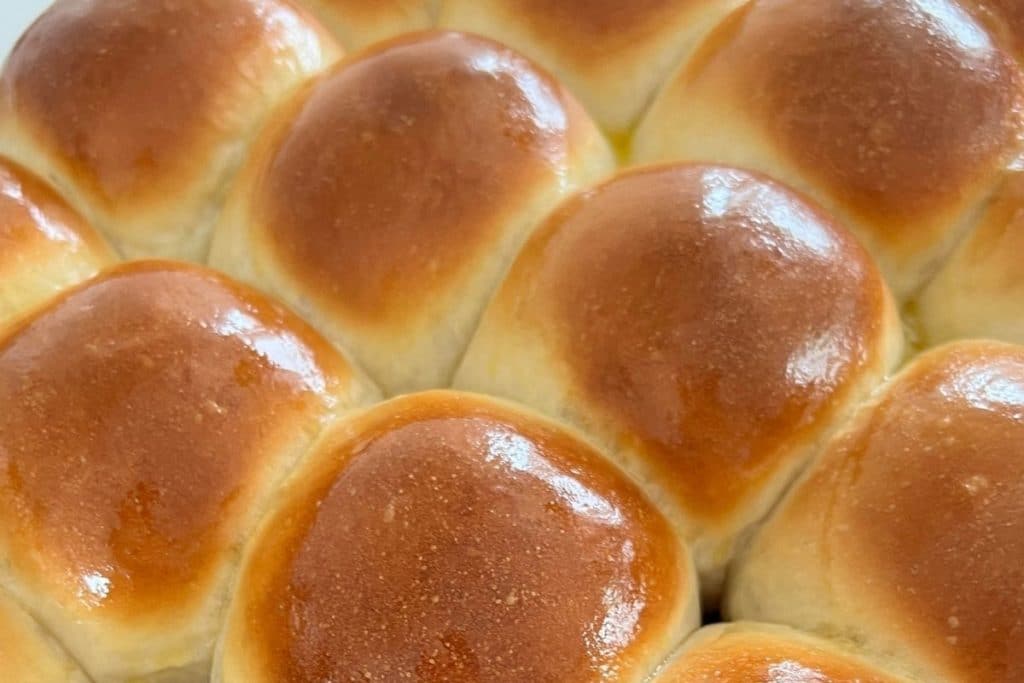
- Bake for 10-15 minutes or until the tops are golden
- Once removed from the oven, you can brush lightly with some melted butter to give it a gloss, but it’s absolutely not necessary.
- Let rest for 15 minutes before eating and/or storing.
The buns should last a week but good luck with that. They’re too good to not eat all at once (unless you have 40 of them haha).
If you are a follower of my page, you will know that I have Coeliac Disease and cannot eat these buns. In fact, they can’t even be made in our house (my husband makes them in the garage but bakes them in the oven), as the airborne flour can make me really sick.