
Dinner
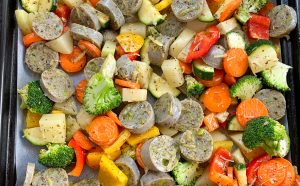
Easy Chicken & Roast Vegetable Bake
Sometimes I want to cook a simple dinner but make it feel like its a little more exciting than just meat and potatoes and vegetables.


Sometimes I want to cook a simple dinner but make it feel like its a little more exciting than just meat and potatoes and vegetables.
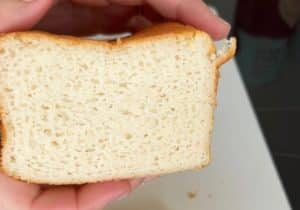
I don’t use these words lightly but I have found the best gluten free bread recipe. The original recipe is by Chez Jorge and I’ve
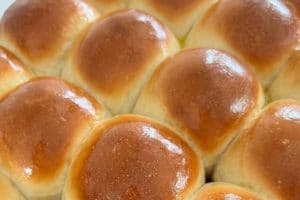
Phil bakes bread rolls every single week and they’re amazing. This particular recipe makes 40 bread rolls (which is a lot), so please halve it

If I can make this Marshmallow Slice, then so can you … In my never ending journey to find the easiest, most simple, recipes around,
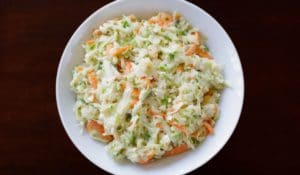
I love KFC – and I love their coleslaw. It’s got that tangy dressing and I’ve never been able to replicate it until now. It
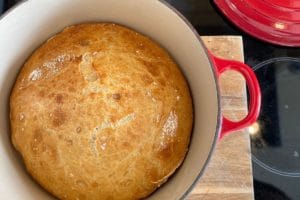
This No-Knead Bread recipe is by far the easiest way to make bread. PLUS you only need 3 ingredients! As we are in self-isolation at
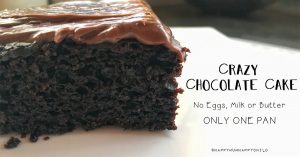
I found this Chocolate Cake recipe and HAD to try it. It’s almost 100% not mine, but I changed out the water for coffee as
Carrot Cake is my favourite type of cake – not just because of the flavour, or the cream cheese icing, but because it’s easy to

My husband is half Chinese, and when we were dating we used to eat this “egg and tomato” dish. I had no idea what it
We’re all about meal planning in this house, and my husband has taken the reigns. My one pre-requisite is that it’s “EASY TO MAKE”, and